February 19, 2021
Author: Boe Eyking
How to Make a Beautiful Cheese Board
What is a Cheese Board?
What to Put on a Cheese Board
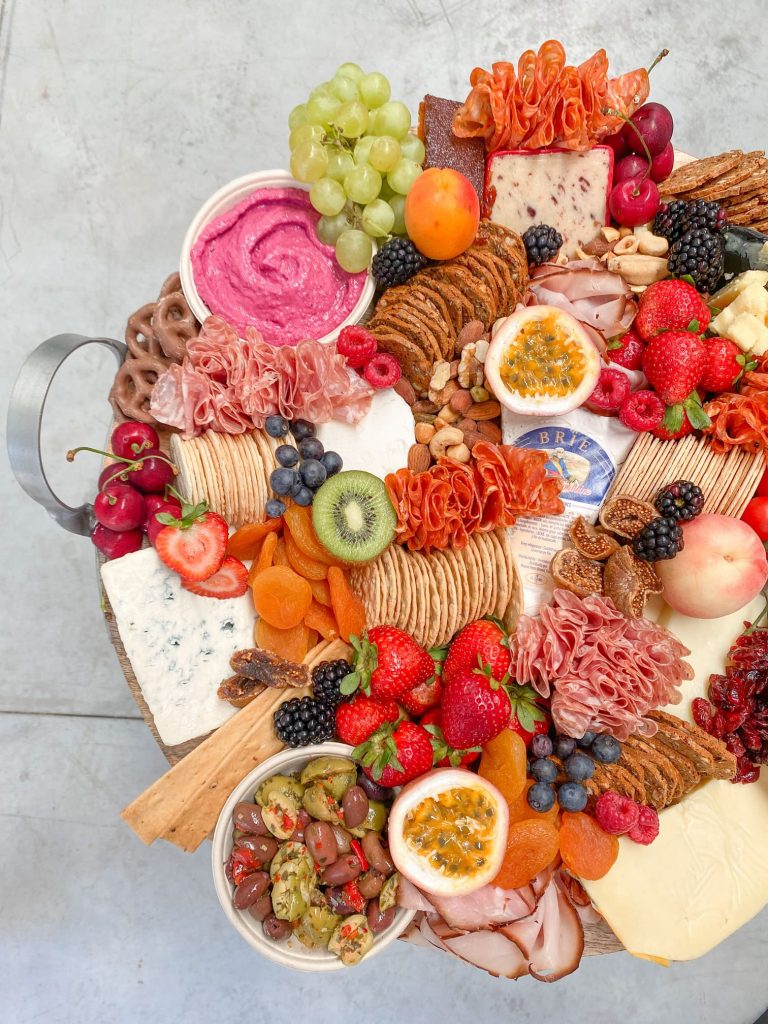
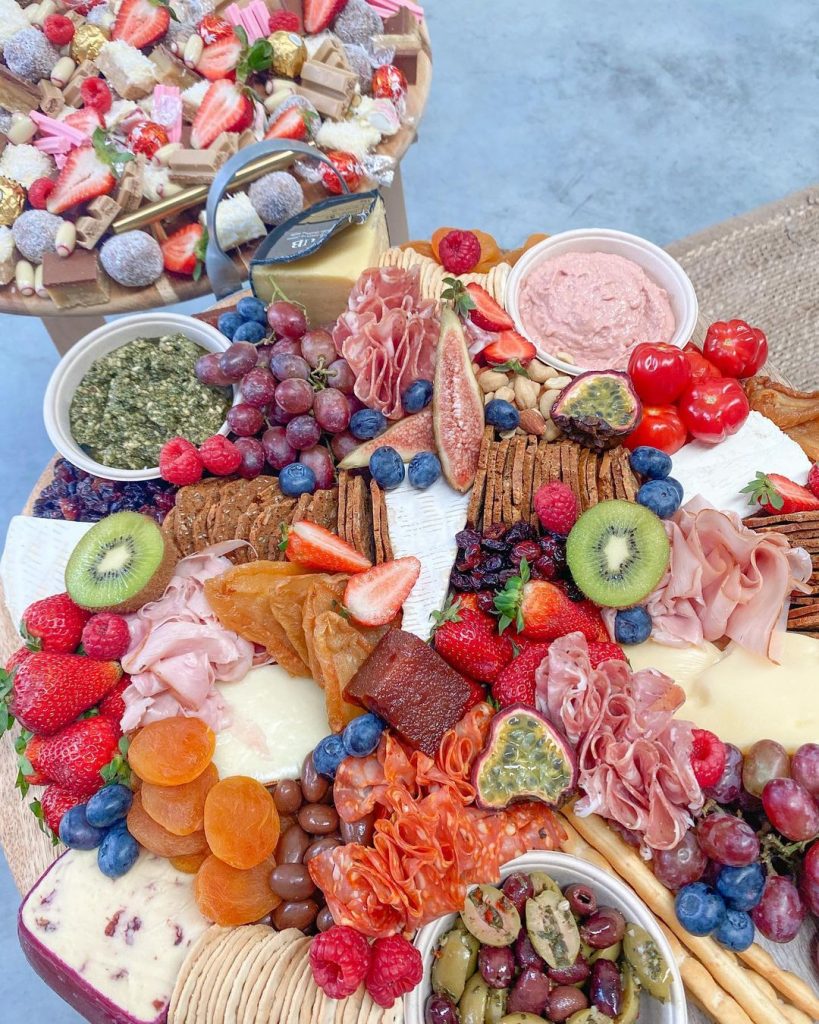
Cheese
Cheese is what makes it — well — a cheese board. Working with different types of cheese, it also means working with different textures. It is essential to have a background on what assortments of cheese you should use to make a cheese board that caters to all types of food preferences.
These cheeses include:
SOFT | SEMI-SOFT | SEMI-HARD | HARD |
Brie Buratta Mozzarella Neufchâtel | Fontina Gorgonzola Limburger Stilton | Comte Manchego Provolone Swiss | Cheddar Colby Gouda Parmesan |
Accompaniments
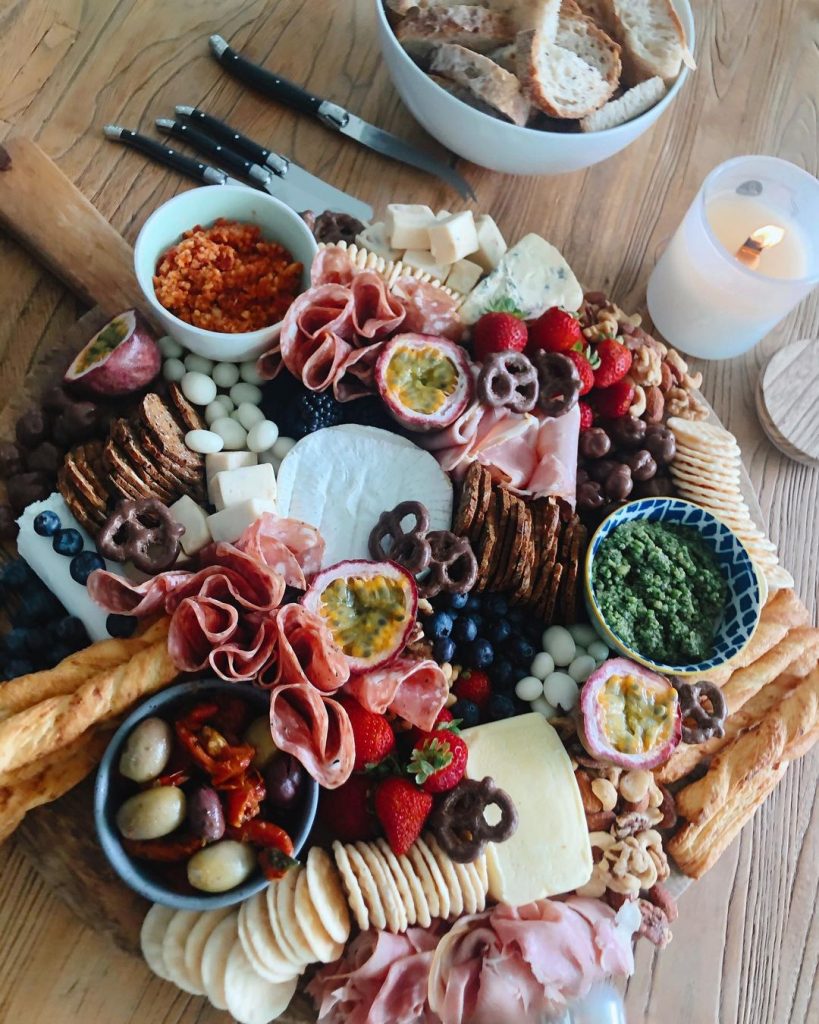
These are the components you need to add a layer of ooziness, color, and zest to your cheese board as a whole. These foods include:
Bread |
|
Cured Meat |
|
Fresh Fruits |
|
Dried Fruits |
|
Nuts |
|
Spreads & Dips |
|
Veggies/Garnish |
|
How to Set up a Cheese Tray
If you have an upcoming occasion, planning a get-together, or a food blogger who wants to learn how to assemble a cheese board, then you are in the right place. Here is a definitive and easy-to-follow cheese board-making tutorial to level up your forthcoming celebrations.
1. Pick the Right Board
A cheese board should not only please the taste buds of your guests, but it should also be inviting to their eyes as well. You must know how to display a cheese board correctly.
To create a fantastic cheese board, you need to have the perfect vehicle for your food. Here’s a head’s up: a simple plate is not enough. This will usually depend on how big or small you want your charcuterie board to be, the number of people you want to cater to, or how massive the event is.
You don’t want a crowded cheese board because the board you used is not big enough to carry the load or end up with an empty-looking cheese board because your board is too big. Give yourself time to strategize the arrangement. No rush!
As for the board material, ideally, you want your board to be flat and non-porous in texture. Woods like teak, hard maple, or acacia are good materials for a charcuterie board. Some foodies even use black walnut wood and bamboo. You can also use different boards like a cutting board, kitchen slate, marble, or a serving tray.
2. Slice and Add the Cheese
It cannot be stressed enough, but familiarity with the options of cheeses to have on a cheese board Is a must.There are tons of varieties of cheese to choose from. There are soft cheeses like brie and mozzarella, semi-soft cheeses like Gorgonzola, semi-hard cheeses like provolone, and cheddar for hard cheese.
Cheese is all about textures. Knowing the texture of each cheese is highly instrumental in indulging your guests’ sophisticated palates. Remember, some guests can be vegetarians, that’s why you need to incorporate rennet-free cheese such as cottage cheese and paneer.
Moreover, it is important to serve your cheese at room temperature. When prepping, take your cheese out of the fridge and let it rest for at least 30 minutes. The last thing you don’t want to serve is frozen or dried cheese.
When assembling the cheese, as much as possible, arrange them in a way where people can see it right away. Aside from your bowl of dips, cheeses require more space, that is why placing the cheese first is a great way to help you easily adjust how you will arrange all the other elements of your board.
3. Fold and Add the Meat
A stark contrast to cheese, cured meat can easily be placed on your board. You might think, how are you able to fit them in an eye-pleasing way? Fortunately, there are certain ways to fit your cured meat into your charcuterie board to perfection.
For salami, you can fold each piece in half to make a triangle-like shape. Preferably, to create the ruffle effect, stack several of these in one go and place them in between the cheese and bowls to keep them in place. You can also fold these pieces in half to create a cone-looking shape. Tuck them in groups in between each cheese to create a flower-like look (of some sort). This is best for circle-shaped meats.
For prosciutto, since each piece is very thin, stacking it several times is possible. You can either fold them to create a fan-like shape or fold them in half. For sausages, cut them on a bias for you to easily place them whenever you want on your board.
Make sure that you distribute all the created elements all throughout the board to add dynamic.
A word of advice, though cured meats are safe to eat even without any further smoking or cooking. Make sure that everything is clean and away from roaming flies and any other insects. Ensure that you have something to cover your cured meat!
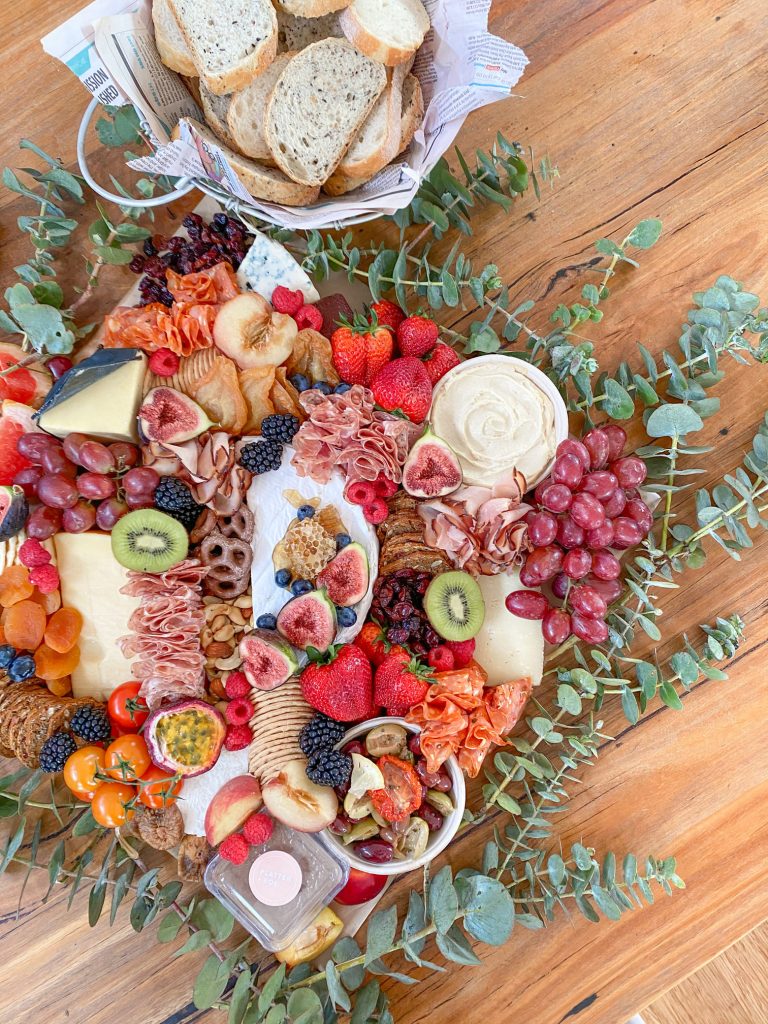
4. Place the Bread
Bread and crackers can easily be distributed all throughout your board. Place a handful of baguette pieces or pretzels on edges adjacent to each other or if you’re working on crackers, then fan them out at the edges of the board for easy pickup.
5. Add Them Colors
Since placing the cheese, meats, bread, and all the heavy lifting is done, you must be wondering what to do next. This is the part where you glaze your cheese board with the “X-factor”. Let’s put your creative talent to the test!
You can now add your fresh and dried fruits to add more colors to your cheese board. The most ideal way to easily place your fruits is to slice them into bite-size pieces and pepper them onto the board. As for the nuts, use them to fill any gaps left especially at the center part. Make sure that there’s no dead or blank space.
6. Pour on the Spreads
A cheese board is not a cheese board without dips and spreads. The spreads and dips make the most differences as they provide a different punch. Take mustard, for example. Using it alone is great but when paired with cheddar and other hard cheese—perfection.
Start filling your empty bowls with the dips you have prepared. Add at least two to three bowls of different dips. Pour honey on the first bowl, cherry preserve on the next, and hummus on the last. And voila, you’re set!
7. Garnish
We’re almost done! Since all the good stuff is settled and ready to go, garnishing is rather optional. But if you want your board to look fancy and elegant, adding a touch of greenery is an excellent way. Garnish your board with some sliced carrots or celery to fill in the remaining tiny gaps. This way, you are ensuring that your cheese board is appealing to the eye all party long!
There You Have It! Your Beautifully-Decorated Cheese Board!
Always remember that if you are prepping your cheese board ahead of time, make sure that you cover it with a wrapper to retain cleanliness and freshness.
Although the cheese board-making trend has been dominating the food industry for quite some time now, some people tend to overlook the wonders it can give. But if you are a foodie yourself and want to try this amazing food art for your upcoming occasions, following the steps discussed in this article will prove useful!
Not enough prep time? Well, you can always rely on companies specializing in making cheese boards like PlatternBoe. We see to it that you get the best cheese board loaded with the freshest and finest cheese, meats, and fruits perfect for your parties!
Do you want to know more about our cheese boards? Contact us today!
Let’s Talk About Your Grazing Table